

Of all of the pumpkin stuff we love, nothing is more cherished than our homemade pumpkin goop. That’s right. GOOP.
Several years ago, we began the concerted effort to stop buying stuff in cans and packets if we could simply make it ourselves.
And by “we”, I mean Jason. Elizabeth is still trying to fully get on the bandwagon, but sometimes she wants to buy a can of pasta sauce, ok? BUT pumpkin pie/bread/cookies — being Elizabeth’s favorite collective food group — seemed like an obvious first candidate to start a somewhat reluctant and ever-evolving quest for the homemade.
So what did we do? We Google’d “how to make a pumpkin pie from a real pumpkin” of course! And what should pop up but the website www.pickyourown.org. We had found our mecca! We have since grown confident enough to veer away and find our own pumpkin cooking path, but we will always attribute it should anyone want the much more reliable, original source.
We now we come to the present, when each year, we find ourselves purchasing multiple pumpkins in preparation for all of our fall baking, cooking, and festivity needs. Case in point:

And these are just our carving pumpkins! Not featured: the two pie pumpkins, multiple decorative gourds, four ears of sweet corn, a whole bushel of roasted green chilis, a gallon of freshly pressed apple cider, and pounds upon pounds of ready-to-can apples.
We basically CLEANED OUT Hill’s Harvest, but the rewards of our splurge are still being felt.
We’ll address all of the ways in which we’ve put these many ingredients to use, but for now, we’re concentrating on THE GOOP.
Cooking a pumpkin is no different than cooking a squash. And we’ve used both types of pumpkins — (un-carved) carving pumpkins and pie pumpkins — to great effect. The difference is simply in the recipes you use afterwards, as the pie pumpkins tend to have a bit more sugary sweetness to them. Of course, there’s also the difference in size:
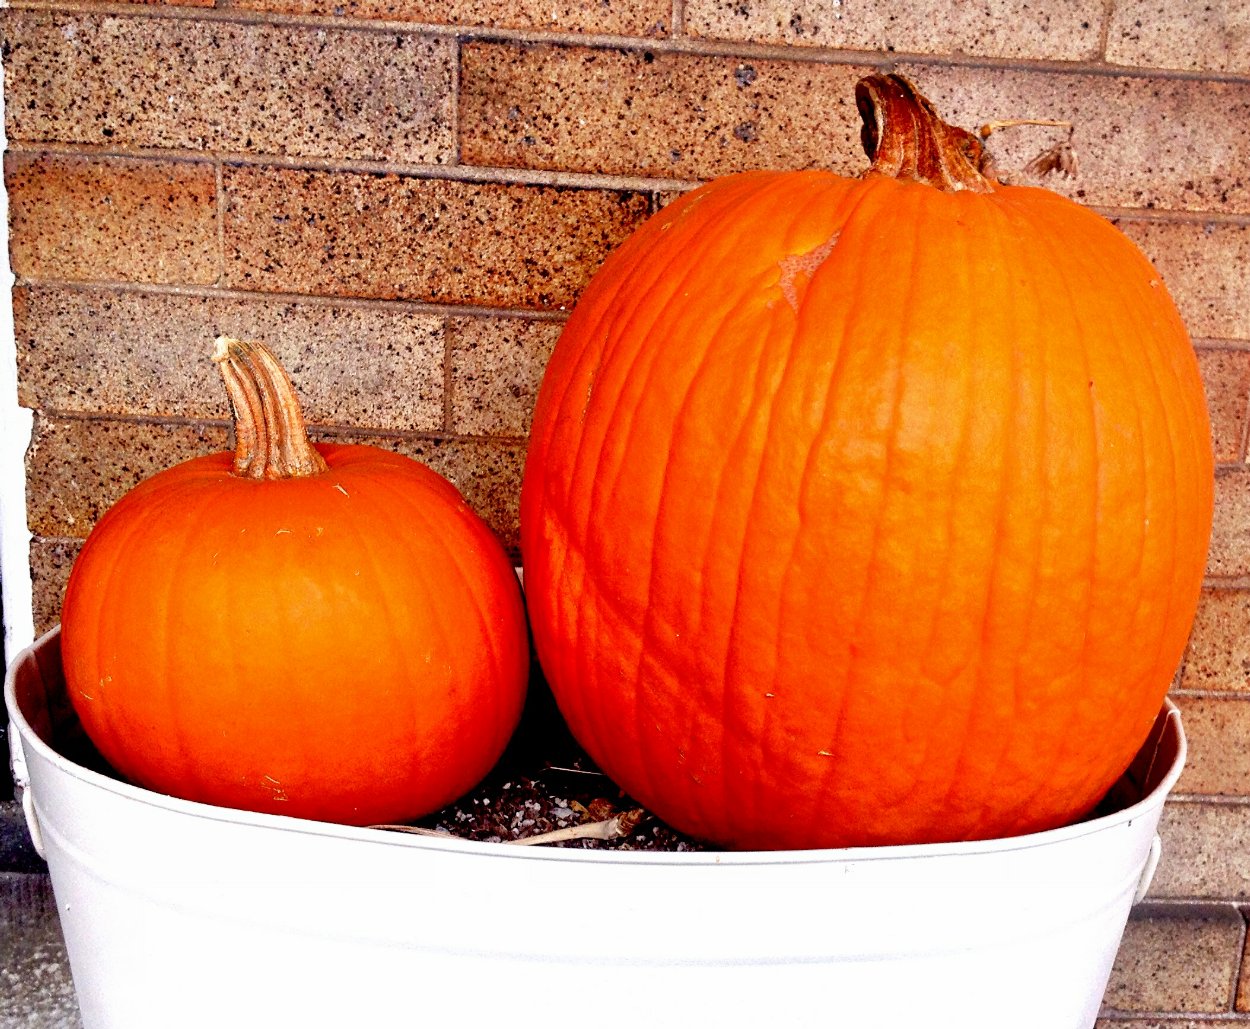
pie pumpkin, left; carving pumpkin, right
No matter the pumpkin, the process is virtually the same. Here’s how you get your goop:
- Cut your pumpkin in half and scoop out the seeds and guts until clean. (Do not — we repeat DO NOT — throw the seeds or guts away. We have a job for them!)
- Place the pumpkin pieces face-down on a cookie sheet or baking pan. Add a bit of water to cover the pan if you’re using a big carving pumpkin.
- Bake covered at 350-degrees for 45 minutes to an hour. Time can vary, so don’t be afraid to poke that sucker with a fork to make sure it’s soft.
- Once soft, remove, let cool for a bit, and then begin removing the meat from the skin. It should come off pretty easily.
- Put all of the meat into a size-appropriate container and blend it thoroughly with a hand immersion blender (a blender or food processor will also work).
- It’ll probably be waterier than you’re used to but do not fear… you can always use a sieve or a towel to drain some of the water.
- Ta daa! You have ready-to-use pumpkin goop at your disposal instead of that silly canned stuff. Just store it in the refrigerator or freezer until use.
Note: stovetop steamers, pressure cookers, and microwaves also work successfully. We have just always used the oven.
Now let’s move on from the goopy mess and talk about how we can make it work for us…


Leave a comment